Setting Hints
▼AT Probability differs by setting
| setting |
Initial Bonus Hit |
ST Probability |
| Setting 1 |
1/254.2 |
1/422.5 |
| Setting 2 |
1/242.3 |
1/405.9 |
| Setting 3 |
1/239.6 |
1/398.7 |
| Setting 4 |
1/214.0 |
1/357.2 |
| Setting 5 |
1/203.2 |
1/332.6 |
| Setting 6 |
1/195.1 |
1/318.5 |
▼Hayajiro Bonus point-allocation differs by setting
During Hayajiro Bonus, Hayajiro point acquisition is drawn according to the Winning combination.
The 3000pt acquisition rate when a solo chance pattern is established differs by setting.
▼The following elements differ by setting
-Normal state third-cycle Bonus Win rate (higher settings are favored)
-Kageno ST Win rate (higher settings are favored)
▼Item Fortune Slip has hint elements
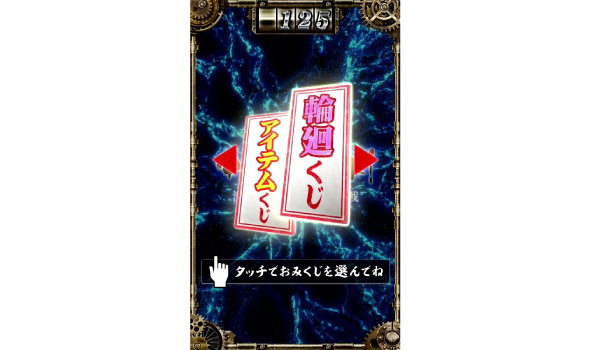
During Normal state, a fortune slip may be obtained at specific timings.
For the fortune slip, you can choose either the Rinne Fortune Slip or the Item Fortune Slip. The Rinne Fortune Slip hints at held CZ points and cycle draws, while the Item Fortune Slip gives Setting hints.
Also, there are timings when specific Setting hints are more likely to appear in the Item Fortune Slip.
| Hints by fortune slip |
| Item Fortune Slip |
| Fortune slip |
Hint detail |
| Tsunuraki tube |
Under investigation |
| Mumei handgun |
| Suicide bag |
| Kurusu sword |
| Mumei kendama |
| Ayame bow |
High-setting hint (weak) |
| Miyama Karasuageha butterfly |
High-setting hint (strong) |
| Small fortune: Play with peace of mind |
Setting 2 or higher is highly likely |
| Middle fortune: Good news; no need to hesitate |
Setting 4 or higher is highly likely |
| Great fortune: The best luck will visit |
Setting 6 is highly likely |
Item Fortune Slip
Timings when specific Setting hints are more likely to appear |
| -From the start of the day through the 5th fortune slip |
| -Fortune slips on multiples of 5 |
▼Rapid-tap additions during Kabaneri ATTACK have hint elements
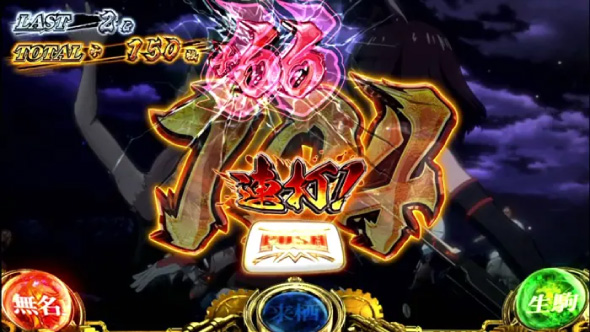
During Kabaneri ATTACK, rapid-tap additions may occur.
A Setting hint occurs when specific added-medal displays appear.
▼Effects during Kabaneri BONUS have hint elements
【Character introductions】
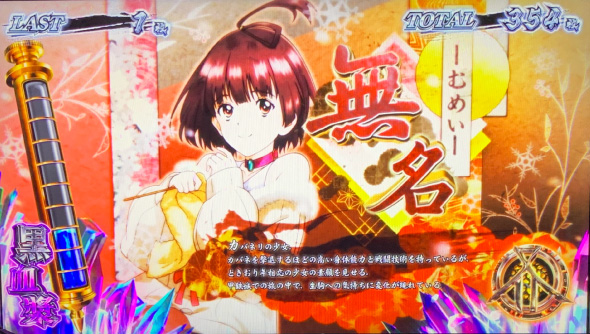
During Kabaneri BONUS, character introductions occur.
Setting hints are given according to the type of character that appears.
The Appearance Rate of “Biba” changes according to the total games played that day.
| Character introduction allocation |
| After 1-5000G played |
| setting |
Male character |
Female character |
Biba |
| Setting 1 |
50.00% |
50.00% |
– |
| Setting 2 |
42.50% |
57.50% |
– |
| Setting 3 |
58.50% |
41.50% |
– |
| Setting 4 |
41.40% |
58.50% |
0.10% |
| Setting 5 |
60.00% |
39.90% |
0.10% |
| Setting 6 |
39.85% |
60.00% |
0.15% |
| After 5001-7000G played |
| setting |
Male character |
Female character |
Biba |
| Setting 1 |
50.00% |
50.00% |
– |
| Setting 2 |
42.50% |
57.50% |
– |
| Setting 3 |
58.50% |
41.50% |
– |
| Setting 4 |
39.50% |
58.50% |
2.00% |
| Setting 5 |
60.00% |
38.00% |
2.00% |
| Setting 6 |
37.00% |
60.00% |
3.00% |
| After 7001-8000G played |
| setting |
Male character |
Female character |
Biba |
| Setting 1 |
50.00% |
50.00% |
– |
| Setting 2 |
42.50% |
57.50% |
– |
| Setting 3 |
58.50% |
41.50% |
– |
| Setting 4 |
31.50% |
58.50% |
10.00% |
| Setting 5 |
60.00% |
30.00% |
10.00% |
| Setting 6 |
25.00% |
60.00% |
15.00% |
| After 8001G or more played |
| setting |
Male character |
Female character |
Biba |
| Setting 1 |
50.00% |
50.00% |
– |
| Setting 2 |
42.50% |
57.50% |
– |
| Setting 3 |
58.50% |
41.50% |
– |
| Setting 4 |
41.40% |
58.50% |
0.10% |
| Setting 5 |
60.00% |
39.90% |
0.10% |
| Setting 6 |
39.85% |
60.00% |
0.15% |
【Reverse-stop cut-in success voice】
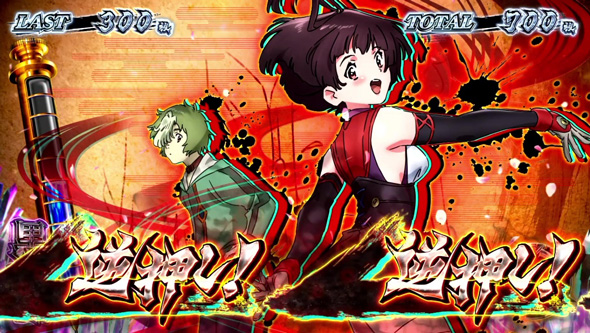
When a reverse-stop cut-in occurs during Kabaneri BONUS, challenge the technical intervention.
On success, the Black Blood Plasma meter accumulates and a voice occurs; the voice type gives a Setting hint.
(The lamps around the sub-screen light up in sync with the voice)
After success, until the next game’s Lever ON, pressing the PUSH button or touching the sub-screen replays the voice.
| Hints by voice when reverse-stop cut-in succeeds |
| Voice |
Hint detail |
| Male characters other than Kageno |
Setting 3 or 5 hint |
| Female character |
Even-setting hint |
| Kageno “Why didn’t you say I was human!!” |
High-setting hint (weak) |
| Kageno “Am I… human, or Kabane!?” |
High-setting hint (medium) |
| Kageno “Maybe this is the last one this year.” |
High-setting hint (strong) |
| Mumei “This machine really isn’t ordinary…” |
Setting 2 or higher is highly likely |
| No voice |
Setting 5 or higher is highly likely |
| Lamps around the sub-screen |
| Lamp color |
Corresponding voice |
| Lower lamp lights up |
Male characters other than Kageno |
| Upper lamp lights up |
Female character |
| Upper and lower lamps light up |
Kageno (one of three types) |
| Upper/lower lamps + strobe lamp light up |
Mumei “This machine really isn’t ordinary…” |
| Does not light up |
No voice |
▼Number of medals won display has hint elements
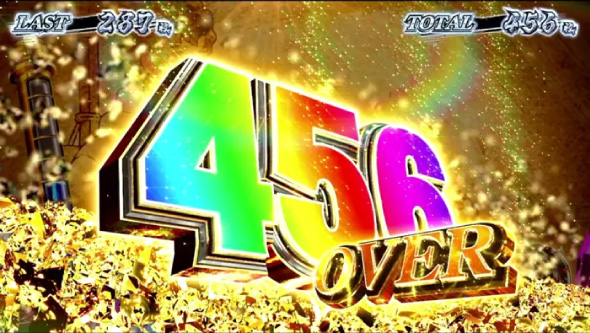
During AT, a medal-count display may occur when a certain number of medals has been won.
A Setting hint occurs when specific medal-count displays appear.
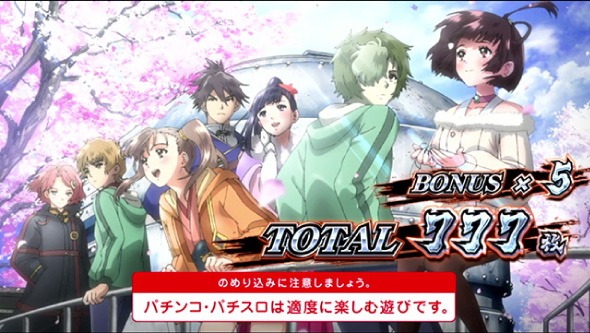
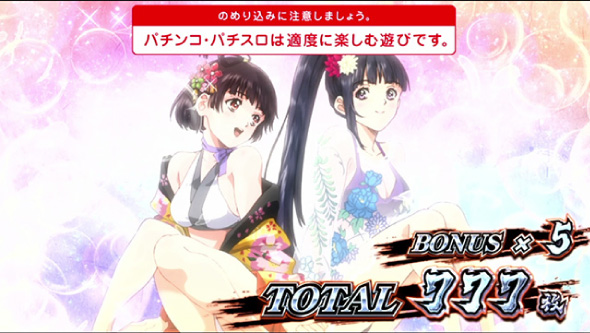
▼ST End screen has hint elements
There are multiple ST End screens.
The screen type gives a Setting hint.
The Appearance Rate of “Mumei & Ayame” changes according to the total games played that day.
| Conditions that increase Appearance Rate of “Mumei & Ayame” |
| -Appearance Rate increases between 5001G and 7000G |
| -Appearance Rate greatly increases between 7001G and 8000G |
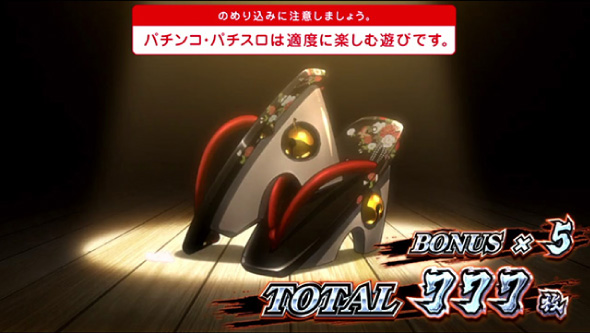
▼Sammy Trophy has hint elements
A Sammy Trophy may appear on the ST End screen.
Setting hints are given according to the type of Sammy Trophy.
| Sammy Trophy Appearance Rate |
| After 1-1000G played |
| setting |
Bronze |
Silver |
Gold |
| Setting 1 |
– |
– |
– |
| Setting 2 |
0.10% |
– |
– |
| Setting 3 |
0.20% |
0.05% |
– |
| Setting 4 |
0.40% |
0.06% |
0.04% |
| Setting 5 |
0.60% |
0.08% |
0.06% |
| Setting 6 |
0.80% |
0.10% |
0.08% |
| setting |
Kirin |
Rainbow |
| Setting 1 |
– |
– |
| Setting 2 |
– |
– |
| Setting 3 |
– |
– |
| Setting 4 |
– |
– |
| Setting 5 |
0.02% |
– |
| Setting 6 |
0.03% |
0.02% |
| setting |
Kirin |
Rainbow |
| Setting 1 |
– |
– |
| Setting 2 |
– |
– |
| Setting 3 |
– |
– |
| Setting 4 |
– |
– |
| Setting 5 |
0.01% |
– |
| Setting 6 |
0.02% |
0.01% |
| setting |
Kirin |
Rainbow |
| Setting 1 |
– |
– |
| Setting 2 |
– |
– |
| Setting 3 |
– |
– |
| Setting 4 |
– |
– |
| Setting 5 |
0.50% |
– |
| Setting 6 |
0.50% |
0.50% |
| setting |
Kirin |
Rainbow |
| Setting 1 |
– |
– |
| Setting 2 |
– |
– |
| Setting 3 |
– |
– |
| Setting 4 |
– |
– |
| Setting 5 |
1.00% |
– |
| Setting 6 |
0.40% |
1.00% |
| setting |
Kirin |
Rainbow |
| Setting 1 |
– |
– |
| Setting 2 |
– |
– |
| Setting 3 |
– |
– |
| Setting 4 |
– |
– |
| Setting 5 |
0.02% |
– |
| Setting 6 |
0.03% |
0.02% |
*According to HAZUSE research.