
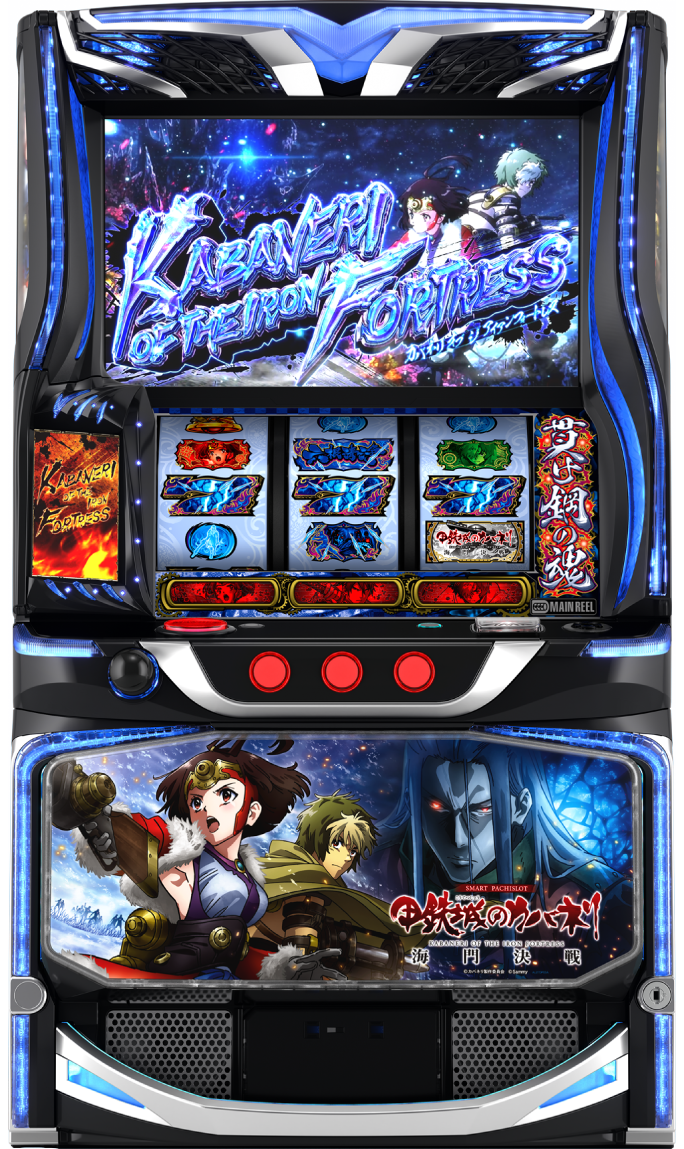
| Model Name | L 甲鉄城のカバネリ 海門決戦 XX |
|---|---|
| Certification No. | 5S1358 |
| Net gain per game | ~6.0 coins |
| Official Site | https://kabaneri.com/ |
|---|---|
| Official social media | https://x.com/anime_kabaneri |
| Wikipedia | https://ja.wikipedia.org/wiki/甲鉄城のカバネリ |
Easy First-Play Guide
Basic Specifications
During Normal state, aim for a Bonus win through draws on Chance patterns or by reaching a cycle.
When a Mumei & Ikoma Chance Pattern is established, a point-acquisition draw is performed, and reaching the specified points makes a CZ win Highly likely. Also, winning Mumei CZ and Ikoma CZ simultaneously leads into Douan CZ.
When a Kabane Chance Pattern is established, Kabane Points are acquired. At the specified points, a cycle draw is performed, the machine shifts to a Precursor stage, and the result is announced.
Kabaneri Chance (CZ) has three types: “Mumei CZ,” “Ikoma CZ,” and “Douan CZ.”
Mumei CZ continues for 10G + α, with a success Hit likelihood of about 36%. The Gameplay hinges on consecutive minor symbols, and the Hit likelihood rises as more Kabane are defeated.
Ikoma CZ continues for up to 20G, with a success Hit likelihood of about 46%. Clearing all 20G without consuming all three lives makes success Highly likely, and drawing a minor symbol during play restores life.
Douan CZ continues for 10G, with a success Hit likelihood of about 78%. A bonus draw is performed when a Chance pattern is established, and if the Rokkon Shojo Pattern stops, Bonus Highly likely.
There are two Bonuses during Normal state: “EPISODE BONUS” and “Hayajiro Bonus.”
EPISODE BONUS has a Net gain per game of about 6.0 medals. Once won, entry into ST is Highly likely, and the episode type hints at the ST type.
Hayajiro Bonus continues for 20G, with an ST Hit likelihood of about 20%. During play, Hayajiro Point acquisition draws are performed, and the ST entry draw is performed according to the final point total.
The ST “KABANERI OF THE IRON FORTRESS” continues for 25G, with a continuation rate of about 76%.
During play, a bonus draw is performed when a Chance pattern is established. Bonus hit likelihood is at least 25%.
The lit Kabaneri high-probability state lamp at the bottom of the screen indicates the Corresponding winning combination; if that combination is established, Hit likelihood rises.
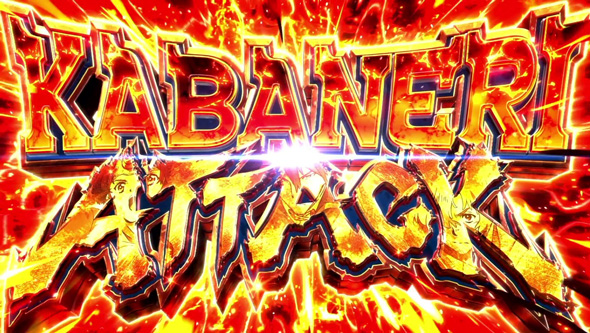
When a Bonus is won, it goes through the 4G Added medals Extra Game Special Zone “Kabaneri ATTACK.”
During play, Extra Games occur Every game, and 100 medals or more are Highly likely when a Chance pattern is established.
Also, the Kabaneri high-probability state from ST carries over, so if the Corresponding winning combination or a compound Chance pattern appears, large Extra Games can be expected.
The upper version, “Super Kabaneri ATTACK,” continues for 6G and grants at least one Super Kabaneri high-probability state.
“Kabaneri BONUS” has a Net gain per game of about 6.0 medals.
During play, Black Blood Plasma meter accumulation draws are performed according to the Winning combination, and reaching meter MAX makes Rokkon Soul acquisition Highly likely.
Acquiring a Rokkon Soul grants a Kabaneri high-probability state at the start of the next ST.
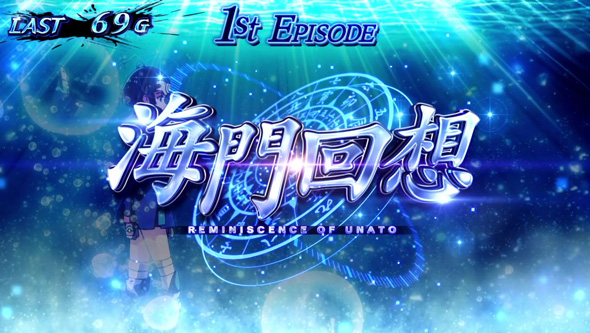
“Kaimon Recollection” continues for 70G.
During play, point-acquisition draws are performed for All winning combinations, and the episode advances at 100pt.
When an episode advances, a reward is acquired, and reaching the 4th episode grants the freezing High Probability State “Flames of Revenge.”
The freezing High Probability State “Flames of Revenge” continues for at least 3G.
During play, a freeze occurs on about 25% of Chance pattern establishments, making entry into the upper ST “Shin Kageyuki ST” or premium ST “Hidden Kageyuki ST” Highly likely.
Also, a compound Chance pattern or a Chance pattern on the final G makes a freeze Highly likely.
The upper STs are “Kageyuki ST” and “Shin Kageyuki ST,” and their basic Gameplay is the same as the ST “KABANERI OF THE IRON FORTRESS.”
Kageyuki ST has a continuation rate of about 83%. Because a Kabaneri high-probability state is always acquired every set, Bonus hit likelihood rises.
Shin Kageyuki ST has a continuation rate of about 89%. Because a Super Kabaneri high-probability state is always acquired every set, a Bonus win is Highly likely when the Corresponding winning combination is established. Also, if the Kabane Chance Pattern is the Corresponding winning combination, it enters “Super Kabaneri ATTACK.”
The premium ST “Hidden Kageyuki ST” is an ST whose entire performance uses hidden specifications, with a Net gain per game of about 6.0 medals.
As with “Shin Kageyuki ST,” all states become Super Kabaneri high-probability states, and when Hidden Kageyuki ST ends, it shifts to Kageyuki ST or higher.
Normal-state Gameplay
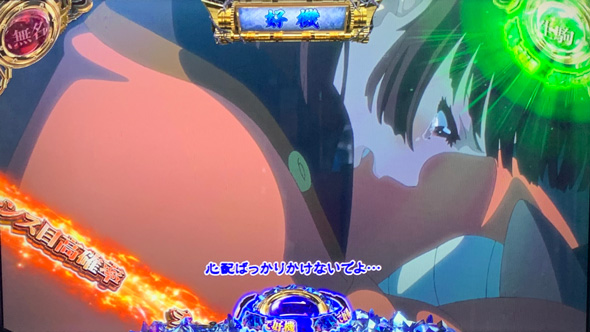
During Normal state, when a Mumei Chance Pattern or Ikoma Chance Pattern is established, point-acquisition draws are performed for each character.
When staying in Kabaneri high-probability state, establishing the corresponding Chance pattern gives High expectation for a large point gain.
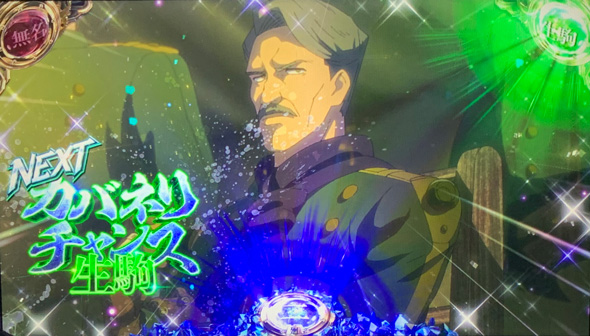
The current point total is hinted by Effects, and reaching the specified points makes a CZ win Highly likely.
If the ball at the top of the screen lights up, reaching the specified points can be expected, and the result is announced after consecutive Effects and the like.
Also, if “Mumei CZ” and “Ikoma CZ” are won simultaneously, a win of the upper CZ “Douan CZ” is Highly likely.
An All-Star Pattern during Normal state also makes a win of the upper CZ “Douan CZ” Highly likely.
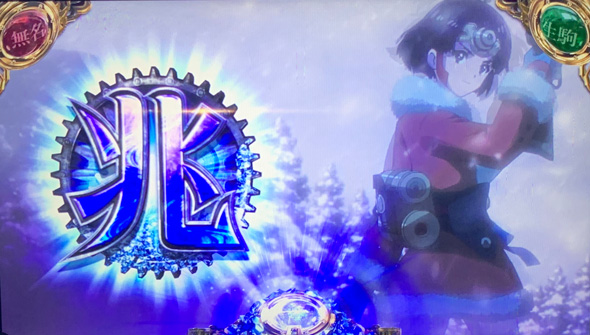
When a Kabane Chance Pattern is established, Kabane Points are acquired.
As with other Chance patterns, when staying in Kabaneri high-probability state, establishing the corresponding Chance pattern gives High expectation for a large Kabane Point gain.
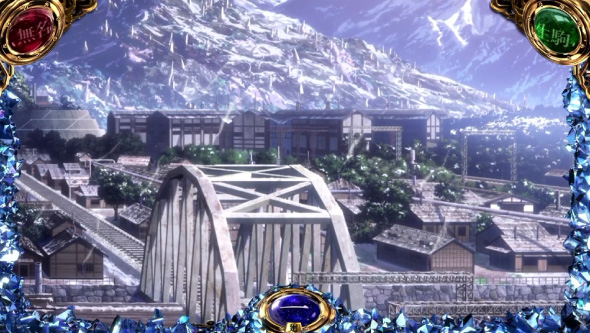
The current cycle count is shown on the ball at the lower center of the screen.
Also, the coating level hints at the Kabane Points being held; the more crystals covering the screen, the closer the State is to reaching a cycle.
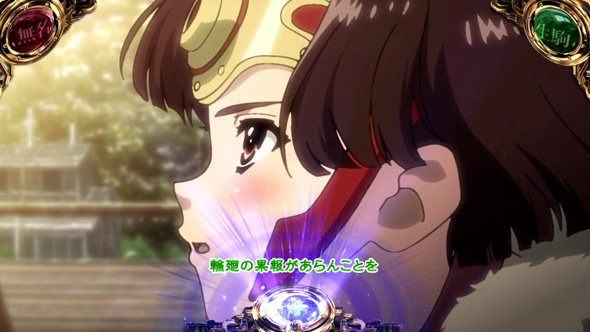
At the specified points, a cycle draw (= first-hit bonus draw) is performed.
Also, even if the specified points are not reached, playing 150G reaches the first cycle, and playing 300G reaches the second cycle.
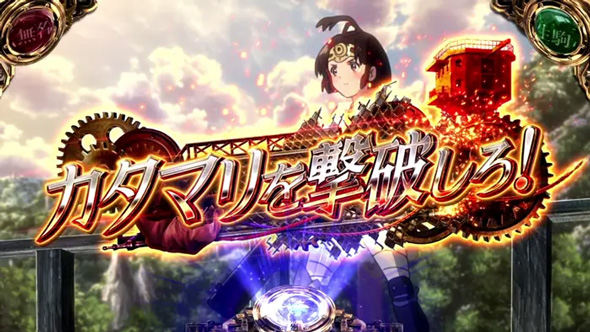
After reaching a cycle, it shifts to the Precursor stage “Kabane Final Defense Zone.”
Ultimately, the result is announced after consecutive Effects and the like.
During the consecutive Effect “Defeat the Katamari!”, overwrite draws are performed; a compound Chance pattern makes Bonus Highly likely, and an All-Star Pattern makes EPISODE BONUS Highly likely.
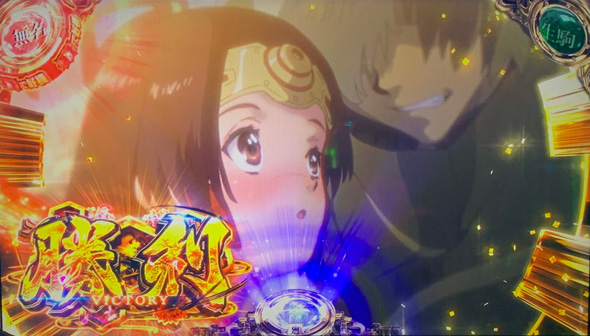
The ratio when a Bonus is won is “EPISODE BONUS” : “Hayajiro Bonus” = 1:1.
If Hayajiro Bonus is won and ST is not won, the cycle count and games played are carried over without being Reset.
| Cycle Draw Features |
| – In the first cycle, expect an early point target |
| – The 1st and 2nd cycles have high Bonus hit likelihood |
| – The Bonus Win rate in the 3rd cycle is better at higher settings |
| – By the 6th cycle at the latest, an EPISODE BONUS win is Highly likely |
| Bonus Win Hit Likelihood Within 300G During Normal state | |
| Games played | Hit likelihood |
| Within 150G | About 52% or higher |
| Within 300G | About 77% or higher |
[About the Chance Pattern High Probability State]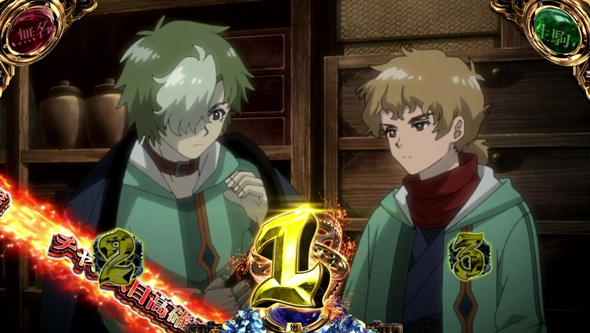
During Normal state, the machine shifts to the Chance Pattern High Probability State when the Specified game count is played.
A band appears at the lower left of the screen to hint that the state is active.
While in the High-probability state, the Appearance Rate of Button-order guide Chance patterns rises to 1/6.3.
Also, the Kabaneri high-probability state for the first Chance pattern bonus alignment after shifting to the Chance Pattern High Probability State activates.
| Game Counts for Shifting to the Chance Pattern High Probability State | |
| Ending in 00G | 50G |
| 150G | 250G |
| 350G | 450G |
| 650G | – |
[About Kabaneri High-Probability State]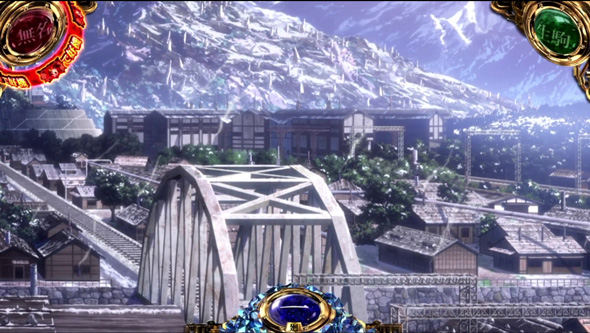
During Normal state, Kabaneri high-probability state activates through draws when Chance patterns are established, when the Specified game count is played, and so on.
A band appears on the balls around the screen to hint that the state is active.
While in the High-probability state, acquired points are favored when the corresponding Chance pattern is established.
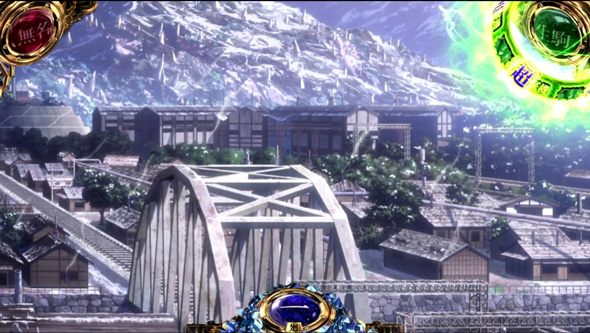
There is also an upper version, Super Kabaneri high-probability state.
While in the super High-probability state, if the corresponding Chance pattern is established, the specified points are reached, resulting in a CZ win or cycle arrival.
| Kabaneri High-Probability State Activation Draw at Specified G Counts | |
| Specified G count | Draw Details |
| 0G (after ST ends) | Kabaneri high-probability state for Kabane Chance Pattern activates |
| 100G | |
| 250G | |
| 450G | Super Kabaneri high-probability state for Kabane Chance Pattern activates |
| 650G | |
[Stages During Normal state]
There are multiple stages during Normal state.
Hints such as Precursor indications are given according to the current stage.
| Stage Hints | |
| Stage | Hint detail |
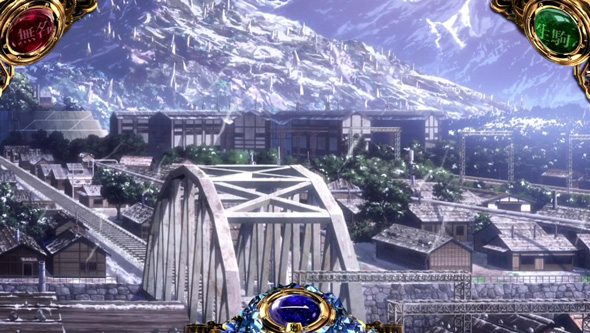 Marshalling Yard |
Basic pattern |
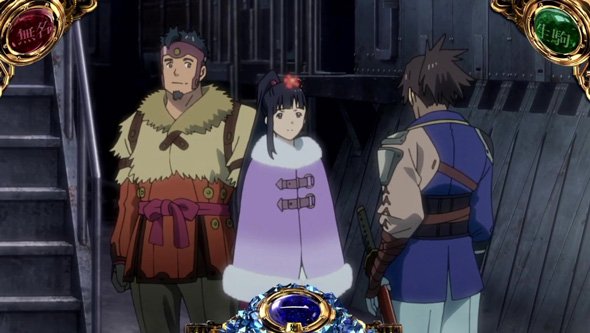 Kotetsujo |
|
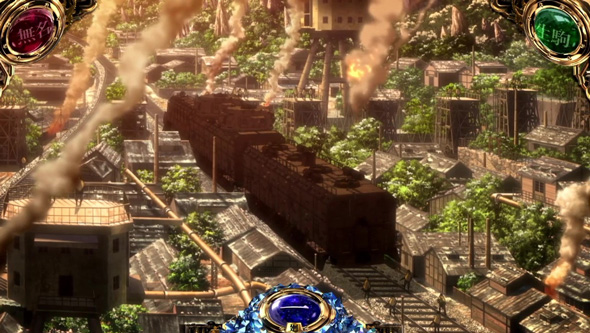 Along the Sixth District Tracks |
Bonus win Hit likelihood for the current cycle rises |
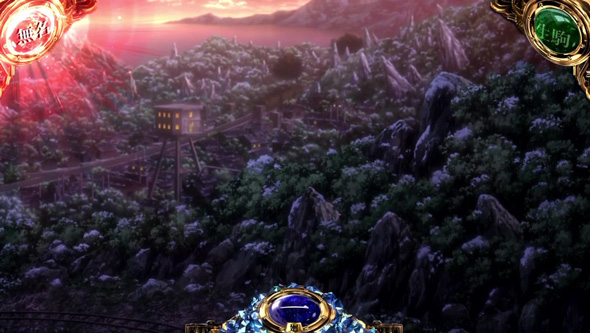 Fourth District Mine Tunnel |
Mumei CZ Precursor hint |
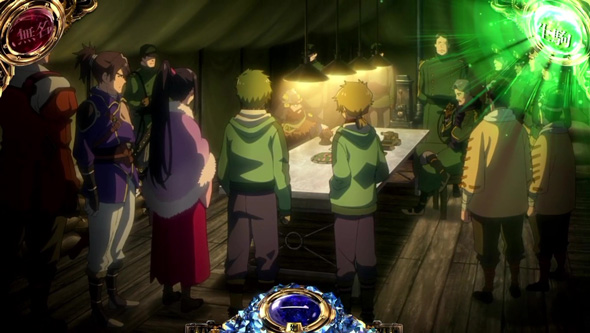 Strategy Meeting |
Ikoma CZ Precursor hint |
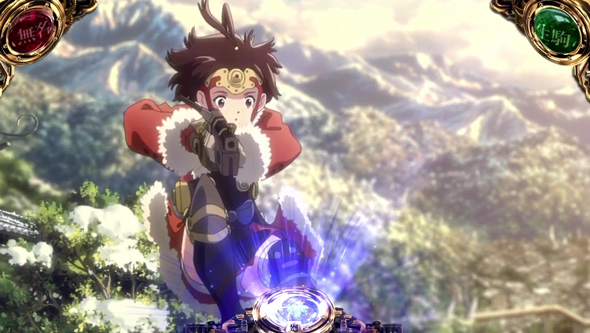 Kabane Final Defense Zone |
Precursor hint for the cycle draw |
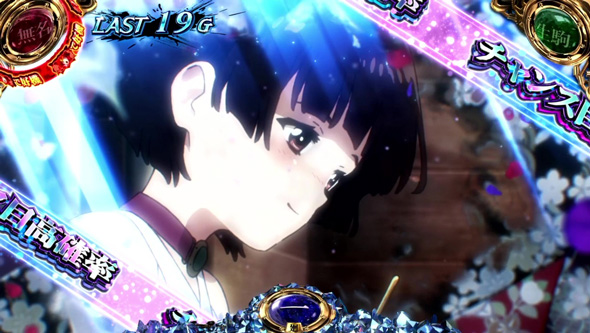 Setsugetsufuka |
Button-order guide High Probability State hint |
About Kabaneri Chance (CZ)
| Mumei CZ |
 |
■Overview
A Self-trigger Chance Zone entered by reaching the specified points for Mumei Chance Pattern.
Continues for 10G + α, with a success Hit likelihood of about 36%.
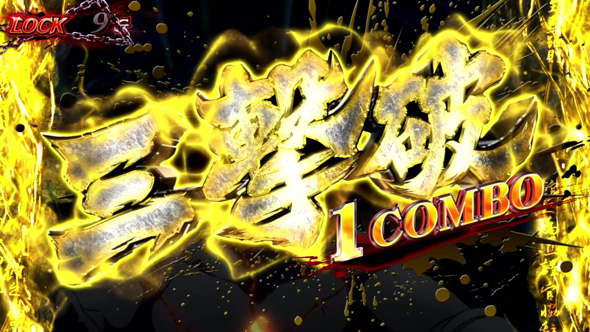
During Mumei CZ, Kabane defeat draws are performed when a minor symbol is established.
When minor symbols occur consecutively, a combo occurs, giving expectation for defeating multiple enemies.
Also, a Chance pattern makes multiple defeats Highly likely.
A success draw is performed according to the final number defeated, and success makes a Bonus win Highly likely.
On internal failure, a success overwrite draw is performed according to the Winning combination.
| Success Overwrite Draw During JUDGE BATTLE | |
| Flag | Draw Details |
| Replay / Bell / Chance pattern | Overwrite draw |
| Compound Chance Pattern | Bonus win Highly likely |
| All-Star Pattern | EPISODE BONUS win Highly likely |
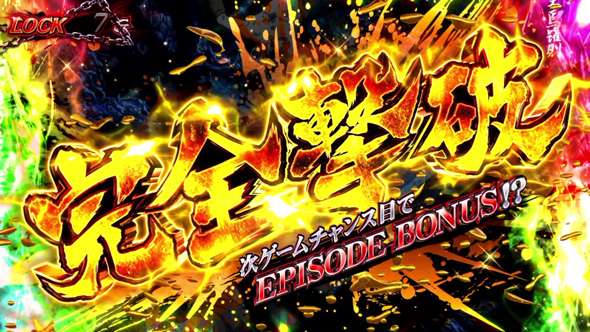
Also, reaching a 5-combo or defeating 10 enemies makes success Highly likely at that point.
If a Chance pattern is established on the next G after “Complete Defeat” is displayed, EPISODE BONUS or higher is Highly likely.
| Next G After Complete Defeat Benefits When a Chance pattern is established |
|
| Flag | Benefit |
| Chance pattern | EPISODE BONUS |
| Compound Chance Pattern | EPISODE BONUS or higher Highly likely (50% chance of upper ST “Shin Kageyuki ST”) |
| All-Star Pattern | Upper ST “Shin Kageyuki ST” Highly likely |
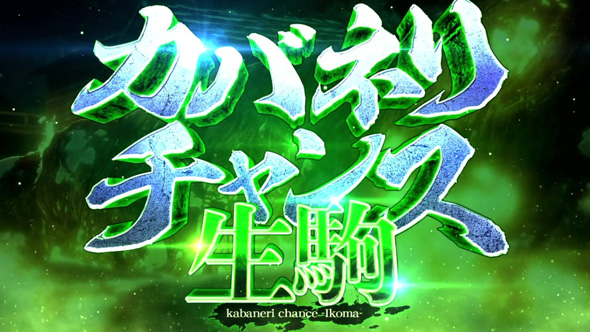
| Ikoma CZ |
 |
■Overview
A Self-trigger Chance Zone entered by reaching the specified points for Ikoma Chance Pattern.
Continues for up to 20G, with a success Hit likelihood of about 46%.
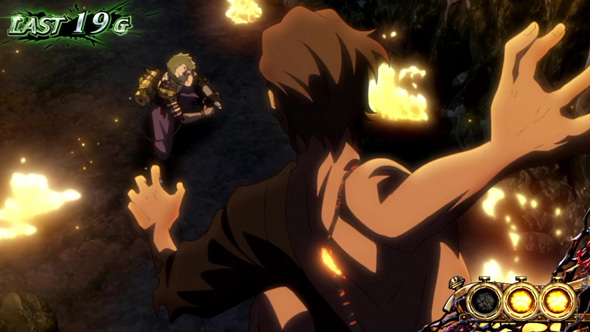
If all 20G are completed before all three lives are consumed, success = Bonus win Highly likely.
During Ikoma CZ, a life-reduction draw is performed on blank, and life recovers when a minor symbol is established.
Also, even if attacked by Kabane with one life remaining, if a minor symbol is established on the next G, life fully recovers.
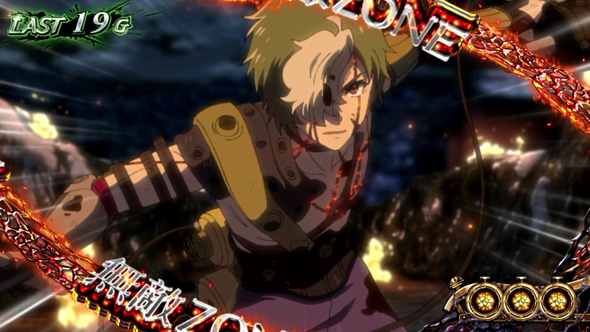
When a Compound Chance Pattern is established, it enters “Invincible ZONE.”
During Invincible ZONE, life reduction stops.
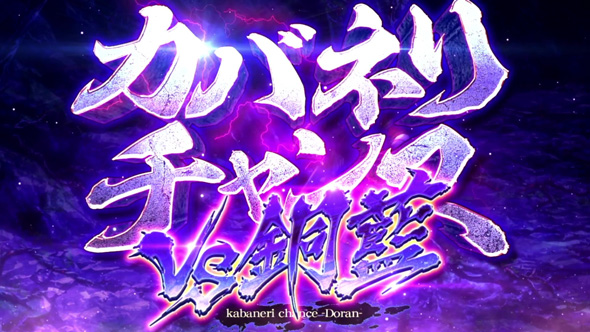
| Douan CZ |
 |
■Overview
An upper Self-trigger Chance Zone entered when Mumei CZ and Ikoma CZ are won simultaneously or when an All-Star Pattern is established during Normal state.
Continues for 10G, with a success Hit likelihood of about 78%.
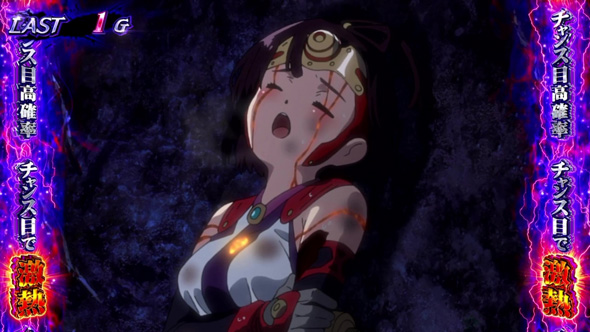
During Douan CZ, it is a Chance Pattern High Probability State, and a success draw is performed when a Chance pattern is established.
If the Rokkon Shojo Pattern stops, success = Bonus win Highly likely.
Also, if a Chance pattern is established during the last 2G, success is Highly likely.
| Draw Details by Flag | |
| Flag | Draw Details |
| Chance pattern | Success draw |
| Compound Chance Pattern | EPISODE BONUS Highly likely |
| All-Star Pattern | Upper ST “Shin Kageyuki ST” Highly likely |
About Bonuses During Normal state
| Hayajiro Bonus |
 |
■Overview
A pseudo Bonus entered from a [Blue 7 / Blue 7 / BAR] lineup.
Continues for 20G, with an ST Hit likelihood of about 20%.
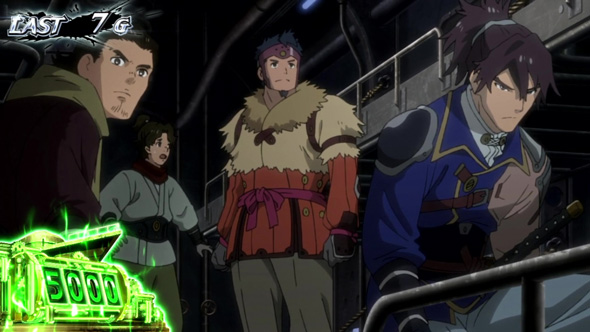
During play, Hayajiro Point acquisition draws are performed according to the Winning combination.
An All-Star Pattern gives High expectation for premium ST “Hidden Kageyuki ST.”
Acquired points are displayed at the lower left of the screen.
An ST entry draw is performed according to the final point total.
When ST is won, it goes through an episode and shifts to the ST “KABANERI OF THE IRON FORTRESS.”
When ST is not won, it returns to Normal state with the cycle count and games played carried over.
| EPISODE BONUS |
 |
■Overview
A pseudo Bonus entered from a Blue 7 lineup.
Continues until a payout of 150 medals, with a Net gain per game of about 6.0 medals per 1G.
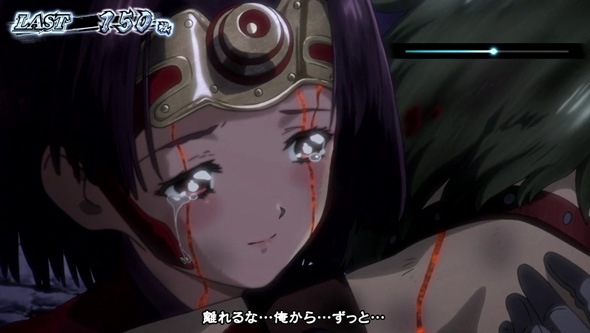
At entry, the ST “KABANERI OF THE IRON FORTRESS” is Highly likely.
Benefits change according to the episode type that occurs.
| Benefits by Episode | |
| Episode | Benefit |
| Sparkling Feelings | ST entry Highly likely |
| Mad Avenger | Kaimon Recollection (Kageyuki ST or higher) Highly likely |
| The Raging Mighty | Shin Kageyuki ST or Hidden Kageyuki ST Highly likely |
About KABANERI OF THE IRON FORTRESS (ST)
| KABANERI OF THE IRON FORTRESS |
 |
■Overview
An ST entered after EPISODE BONUS ends or through draws during Hayajiro BONUS.
Continues for 25G + α, with a continuation rate of about 76%.
The ST consists of two parts: “Co-op Part (22G)” and “Awakening Part (3G).”
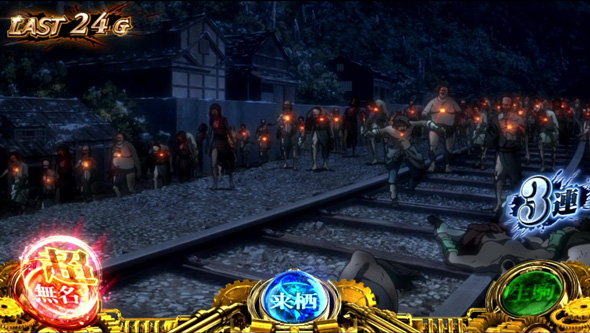
On the first hit, it starts with two Kabaneri high-probability states acquired.
For Kabaneri high-probability state, the lit lamp at the bottom of the screen indicates the Corresponding winning combination, and Hit likelihood rises if that combination is established.
A Corresponding winning combination during Super Kabaneri high-probability state (the “Super” text appears on the lamp) makes a Bonus win Highly likely.
Also, from the 2nd chain onward, reaching MAX on the Black Blood Plasma meter during Kabaneri BONUS can grant one Kabaneri high-probability state.
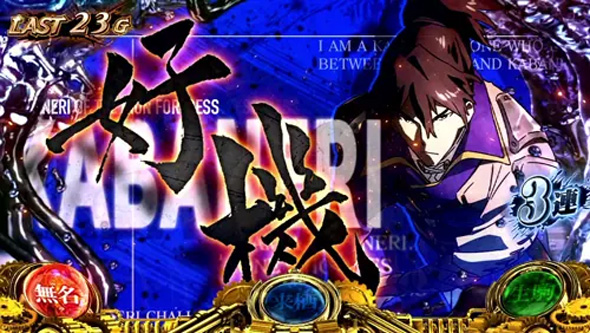
During the first half, “Co-op Part,” a bonus draw is performed when a Chance pattern is established.
Bonus hit likelihood when a Chance pattern is established is at least 25%.
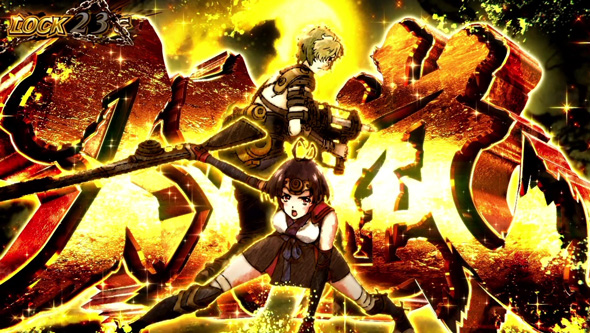
Basically, the result is announced after consecutive Effects and the like.
Also, Chance patterns during a true Bonus Precursor trigger a Bonus Upgrade lottery.
The ST game count reduction stops from the establishment of a Chance pattern until the consecutive Effect fails.
| Bonus Win Hit Likelihood by Flag | |||
| Flag | Non-Kabaneri high-probability state | Kabaneri high-probability state | Super Kabaneri high-probability state |
| Mumei Chance Pattern | 25% | 60% | 100% |
| Ikoma Chance Pattern | 25% | 66% | |
| Kabane Chance Pattern | 25% | 100% | |
| Compound Chance Pattern | 66% | 100% | |
| All-Star Pattern | 100% | 100% | |
| Bonus Win Hit Likelihood by Consecutive Effect | |
| Effects | Hit likelihood |
| Ikoma vs Ukai | Low |
| Mumei vs Douan | ↓ |
| Kurusu vs Wazatori | ↓ |
| Souran no Toki | High |
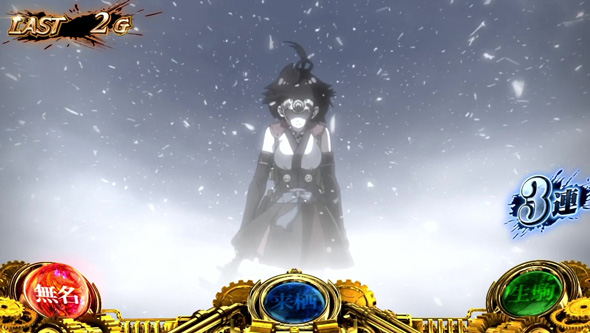
During the latter half, “Awakening Part,” Bonus hit likelihood when a Chance pattern is established rises greatly.
Also, a Chance pattern on the final G makes a Bonus win Highly likely.
| Bonus Win Hit Likelihood by Flag | ||
| Flag | Non-Kabaneri high-probability state | (Super) Kabaneri high-probability state |
| Mumei, Ikoma, or Kabane Chance Pattern | 66% | 100% |
| Compound Chance Pattern | 100% | |
| All-Star Pattern | 100% | |
[(Super) Kabaneri Challenge]![Smart Pachislot Kabaneri of the Iron Fortress: Battle of Unato [(Super) Kabaneri Challenge]](https://hazuse.com/wp/wp-content/uploads/2026/02/5S1358-57afb2671b.jpg)
When a (Super) Kabaneri Challenge occurs, challenge the 2-choice Button-order.
Choosing the correct 2-choice stops a Chance pattern.
Also, if the left Reel is stopped on the First stop, a Replay lines up, but internally it is treated as correct at 50%, and the same draw as when a Chance pattern is established is performed.
About Kabaneri ATTACK / Kabaneri BONUS
| Kabaneri ATTACK |
 |
■Overview
An Added medals Specialized Zone entered after winning a Bonus during ST.
Continues for 4G, with a minimum Added medals amount of about 200 medals.
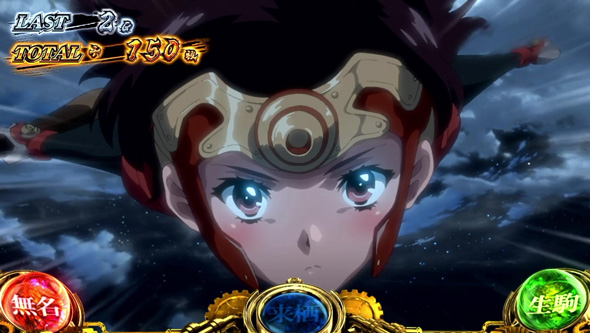
During play, Extra Games occur Every game, and 100 medals or more are Highly likely when a Chance pattern is established.
Chance Pattern Probability During Kabaneri ATTACK is 1/6.1.
Also, the Kabaneri high-probability state from ST carries over, so if the Corresponding winning combination or a compound Chance pattern appears, large Extra Games can be expected.
| Effects that can be expected to add 300 medals |
| – Corresponding winning combination during Super Kabaneri high-probability state |
| – Successful Super Kabaneri Challenge |
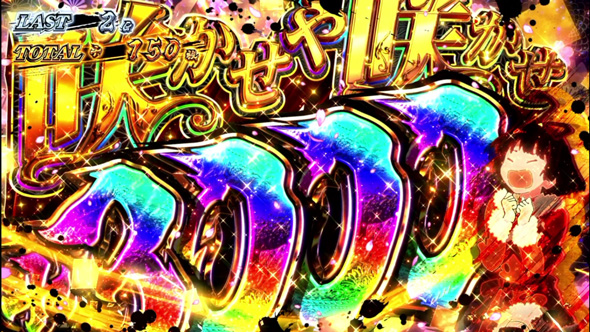
The Added medals amount per trigger is 50 to 300 medals, and “Tsuranuki Add-on” occurs 50% of the time when a 300-medal add-on occurs.
When Tsuranuki Add-on occurs, the maximum Added medals amount is 3000 medals.
[Super Kabaneri ATTACK]![Smart Pachislot Kabaneri of the Iron Fortress: Battle of Unato [Super Kabaneri ATTACK]](https://hazuse.com/wp/wp-content/uploads/2026/02/5S1358-e312b174ff.jpg)
An upper Added medals Specialized Zone entered from part of Kabaneri ATTACK.
Continues for 6G, with a minimum Added medals amount of about 300 medals.
Because at least one Super Kabaneri high-probability state is granted, drawing the Corresponding winning combination gives expectation for large Extra Games.
| Kabaneri BONUS |
 |
■Overview
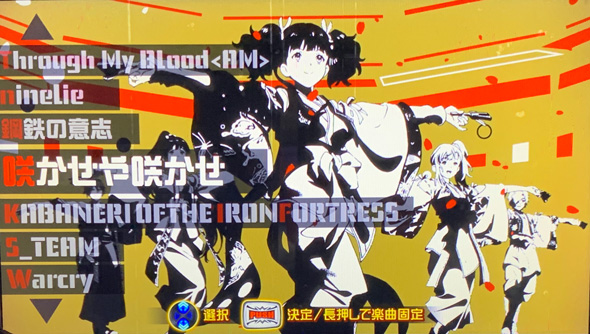
A Bonus part entered after Kabaneri ATTACK ends.
Continues for the number of medals acquired in Kabaneri ATTACK, with a Net gain per game of about 6.0 medals per 1G.
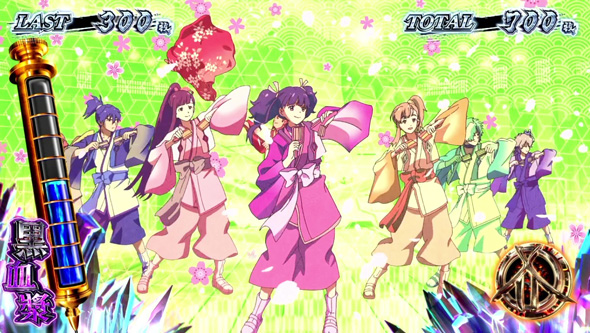
During play, Black Blood Plasma meter accumulation draws are performed according to the Winning combination.
The Black Blood Plasma meter is shown on the left side of the screen.
When the meter reaches MAX, acquisition of a “Rokkon Soul” is Highly likely.
Acquiring a Rokkon Soul grants a Kabaneri high-probability state at the start of the next ST.
After it ends, the machine shifts to ST.
[Reverse Stop Cut-in]![Smart Pachislot Kabaneri of the Iron Fortress: Battle of Unato [Reverse Stop Cut-in]](https://hazuse.com/wp/wp-content/uploads/2026/02/5S1358-55001cc456.jpg)
When the Reverse stop cut-in occurs, play the right and middle Reels normally, then aim for [Blue 7 / Replay / Blue 7] (sandwich pattern) on the left Reel.
A successful Timing stop triggers Black Blood Plasma meter accumulation + voice, and a Setting hint is given according to the voice type.
If the Timing stop fails, no voice occurs, but the Black Blood Plasma meter can still be acquired.
About Kaimon Recollection / Flames of Revenge
| Kaimon Recollection |
 |
■Overview
An upper ST Chance Zone entered from some cases after a Bonus ends during ST.
Continues for 70G.
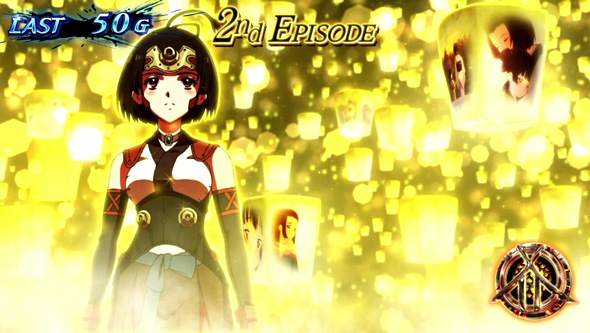
During play, point-acquisition draws are performed for All winning combinations.
At 100pt, the episode advances and a reward is acquired.
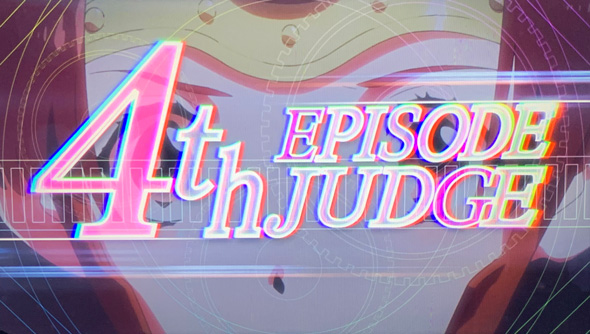
There are four episode stages in total.
When the 1st to 3rd episodes advance, a Rokkon Soul acquisition + freezing High Probability State “Flames of Revenge” draw is performed.
Reaching the 4th episode grants the freezing High Probability State “Flames of Revenge,” and when the 4th episode advances, acquired Rokkon Souls are upgraded to Super Rokkon Souls (Super Kabaneri high-probability state).
| Flames of Revenge |
 |
■Overview
A freezing High Probability State that may be entered after acquiring the right during Kaimon Recollection.
Continues for at least 3G.
During play, freeze draws are performed when a Chance pattern is established.
Freeze Hit likelihood when a Chance pattern is established is about 25%.
Also, a compound Chance pattern or a Chance pattern on the final G makes a freeze Highly likely.
When a freeze occurs, it enters upper ST “Shin Kageyuki ST” or premium ST “Hidden Kageyuki ST.”
If no freeze occurs, it enters upper ST “Kageyuki ST.”
About Kageyuki ST / Shin Kageyuki ST (Upper ST)
| Kageyuki ST |
 |
■Overview
An upper ST entered after Flames of Revenge fails and from other routes.
Continues for 25G + α, with a continuation rate of about 83%.
The basic Gameplay is the same as the ST “KABANERI OF THE IRON FORTRESS.”
Because a Kabaneri high-probability state is always acquired every set, Bonus hit likelihood is increased.
[Kageyuki Loop]
After Kageyuki ST ends, a “Kageyuki Loop” draw appears to be performed.
If this draw is won, the next ST win enters Kageyuki ST.
Kageyuki Loop also appears to be favored at higher settings.
| Shin Kageyuki ST |
 |
■Overview
An upper ST entered after Flames of Revenge succeeds and from other routes.
Continues for 25G + α, with a continuation rate of about 89%.
The basic Gameplay is the same as the ST “KABANERI OF THE IRON FORTRESS.”
Because a Super Kabaneri high-probability state is always acquired every set, a Bonus win is Highly likely when the Corresponding winning combination is established.
Also, if the Kabane Chance Pattern is the Corresponding winning combination, establishing the Corresponding winning combination enters “Super Kabaneri ATTACK.”
Additionally, Rokkon Souls acquired during the Bonus are always converted into Super Rokkon Souls.
About Hidden Kageyuki ST (Premium ST)
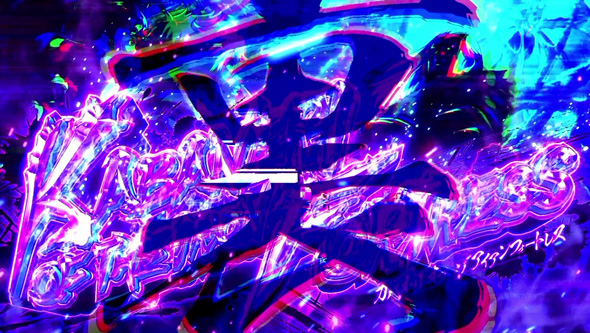
| Hidden Kageyuki ST |
 |
■Overview
An upper ST entered from some cases after Flames of Revenge succeeds.
Continues for 25G + α, with a Net gain per game of about 6.0 medals per 1G.
The basic Gameplay is the same as the ST “KABANERI OF THE IRON FORTRESS,” but because Bell guides occur, players can aim for a Bonus win while increasing Payout even during ST.
As with “Shin Kageyuki ST,” all states become Super Kabaneri high-probability states, and the draw values also change to hidden specifications.
Also, when Hidden Kageyuki ST ends, it shifts to Kageyuki ST or higher.
Expected acquired medals are about 3600 medals (the average number acquired in Hidden Kageyuki ST before returning to normal play).
About Black Smoke Points
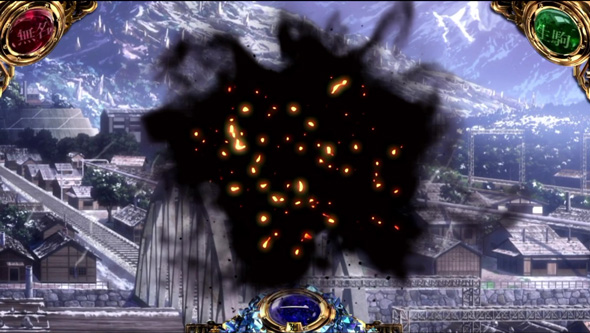
| Black Smoke Points |
 |
■Overview
Points that can be acquired after CZ failure, Hayajiro Bonus failure, and similar cases.
When the added points accumulate to MAX, the next first hit enters “Kaimon Recollection,” “Shin Kageyuki ST,” or “Hidden Kageyuki ST.”
Black Smoke Points appear to be released about once per day, a higher frequency than in the previous title.
| Main Black Smoke Point Acquisition Triggers |
| – When shifting to a favorable section |
| – After CZ failure |
| – After Hayajiro Bonus failure |
| – After ST ends without a hit |
| – When Game-count ceiling (996G) is reached |
| – When the maximum Cycle ceiling is reached (also valid when shortened) |
| Black Smoke Point Hint Effects | |
| Acquired Point Hint | |
| Effects | Acquired Point Amount |
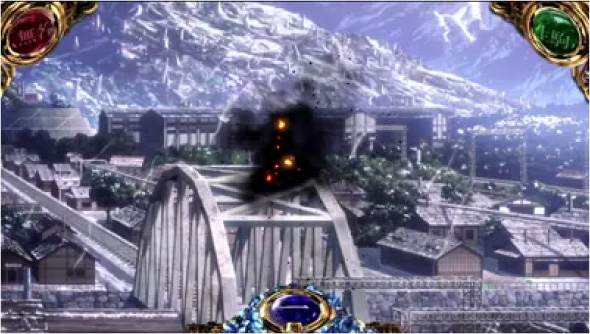 |
Small |
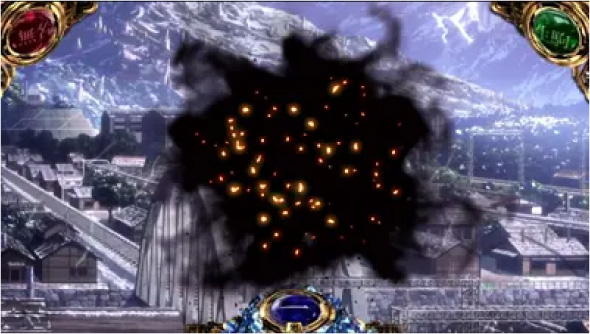 |
Large |
| Accumulated Point Hint | |
| Effects | Accumulated Point Amount |
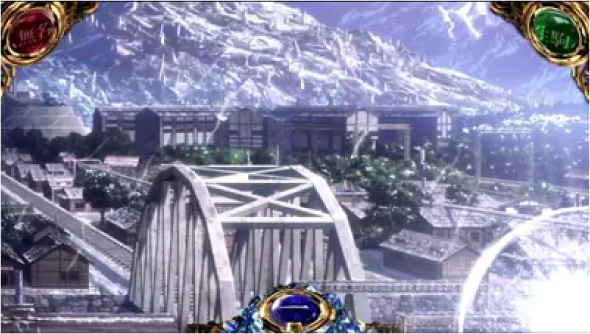 |
Small |
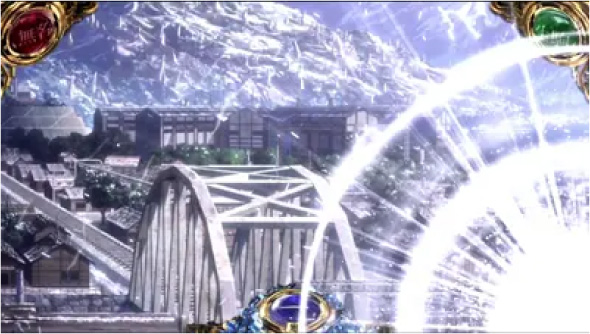 |
Large |
Information
The original Tsuranuki SPEC returns.
Video, sound, lighting, cabinet vibration, Reel action, and more have all evolved.
“Kabaneri ATTACK” has evolved into a Self-trigger Specialized Zone.
It also includes the premium ST “Hidden Kageyuki ST,” which surpasses Hidden Biba.
Complete (*) function included.
(*) A function that puts the machine into a play-stop state when 19,000 medals are acquired in one day from the point where the medal difference was most negative. At that time, the machine gives advance notice. The play-stop state is released by Setting change.


